
Clouflare is the CDN service provider with the largest number of users in the world, with 4 million users so far. Cloudflare mainly provides network-related services such as DNS resolution, network security DDOS protection, CDN, etc. Because the basic services are free, there are many users. In addition to DDOS protection and CDN, Cloudflare has rapidly expanded new businesses in recent years, such as Cloudflare Registrar domain name purchase service, Cloudflare R2 object storage service, etc.
This article mainly introduces the use of Cloudflare Email Routing email forwarding service. People with personal domain names can use corporate email services or email forwarding services to create custom domain name emails. Since the DNS resolution service provider directly provides free and easy-to-configure services, why not try it?
1. Use Cloudflare domain name resolution service
If your domain name already uses Cloudflare as the domain name resolution service provider, please go directly to step 2.
If you are still using the DNS resolution provided by the domain name registrar, or using other service providers, please consider whether to change the DNS service provider to Cloudflare. After switching, it may cause slower domestic access and does not support the use of multiple domain name service providers at the same time. If you are sure to switch, you can check the Cloudflare official website tutorial for operation.
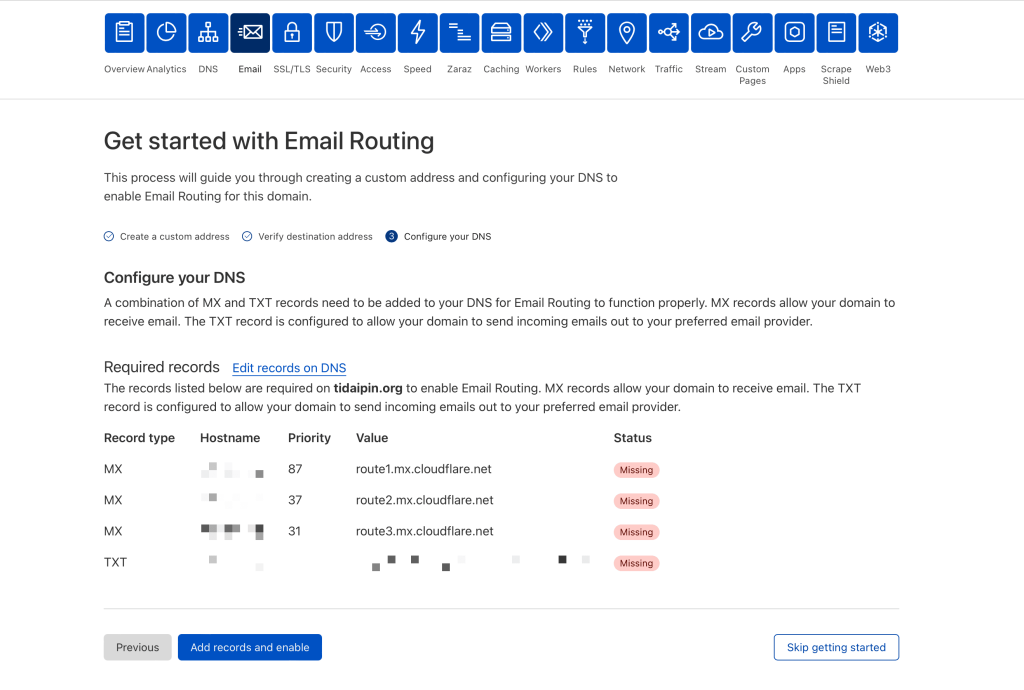
2. Add Cloudflare’s MX record
Click Email in the Cloudflare backend to start configuration (the new version menu bar is on the left, slightly different from the picture below). Click Add Record to import Cloudflare’s own MX server record information with one click.
If you have added MX records of other email service providers in the DNS resolution record, you need to delete the original MX records first.
3. Configure Cloudflare Email Routing
3.1 Destination addresses configuration
Here we first configure the target email address. After filling in the target email address, the target email will receive a verification email from Cloudflare. Click the link in the email to verify it successfully.
Destination addresses are shared by all domains under the same Cloudflare account. Under the same Cloudflare account, if you verify the email address test@shuziyimin.org when configuring email forwarding for domain A, you can directly fill in test@shuziyimin.org when configuring email forwarding for domain B without re-verification.

3.2 Custom addresses
After adding and verifying the target mailbox, fill in the domain name prefix you want to use when configuring here, and point it to the target mailbox.
3.3 Catch-all address All email addresses
After configuring Catch-all, all emails sent to the domain name will be forwarded to the specified target email address regardless of the email prefix.
People who care more about privacy protection can use this service. For example, when registering for various website services, you can temporarily create a prefix with the service name. When registering for craft, use craft@shuziyimin.org; when registering for Disney+, use disney@shuziyimin.org. In this way, when you receive spam, you can know which service provider leaked your information, and you can also refuse to receive emails based on the recipient.
4. Use a custom domain name to send emails
For most users, you can complete the above steps to use a custom domain name to receive emails. If you need to use a custom domain name to send emails, please check the tutorial below. Here, Gmail is used as an example.
Note: This method is only suitable for occasional personal use, not for commercial or large-scale use. Using personal emails such as Gmail instead of domain emails to send emails will be identified as spam or phishing emails by many inboxes. If you have commercial needs, please choose a large email service provider. Commercial sending services have in fact been monopolized by large organizations.
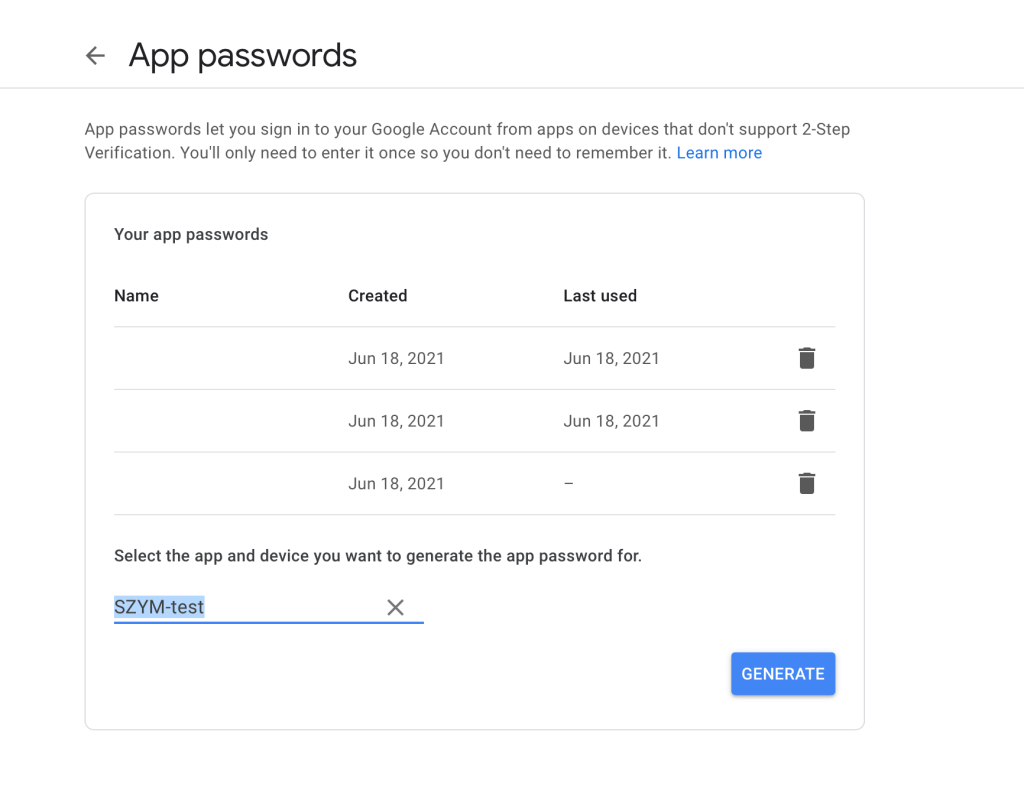
4.1 Get a Google account-specific app password
Open the link below in a new browser window. After logging in to your Google account, you can get a new exclusive app password on the Google app password configuration page. You can select Other for “Device” and then fill in your own custom information for easy memorization. As shown in the figure below, I wrote “SZYM-test” to note this new app password. Remember to save the password after getting it.
https://myaccount.google.com/apppasswords
4.2 Configure Gmail
In Gmail Settings – Accounts and Import, find the location for sending emails and click “Add New Email Address”, as shown in the figure below.
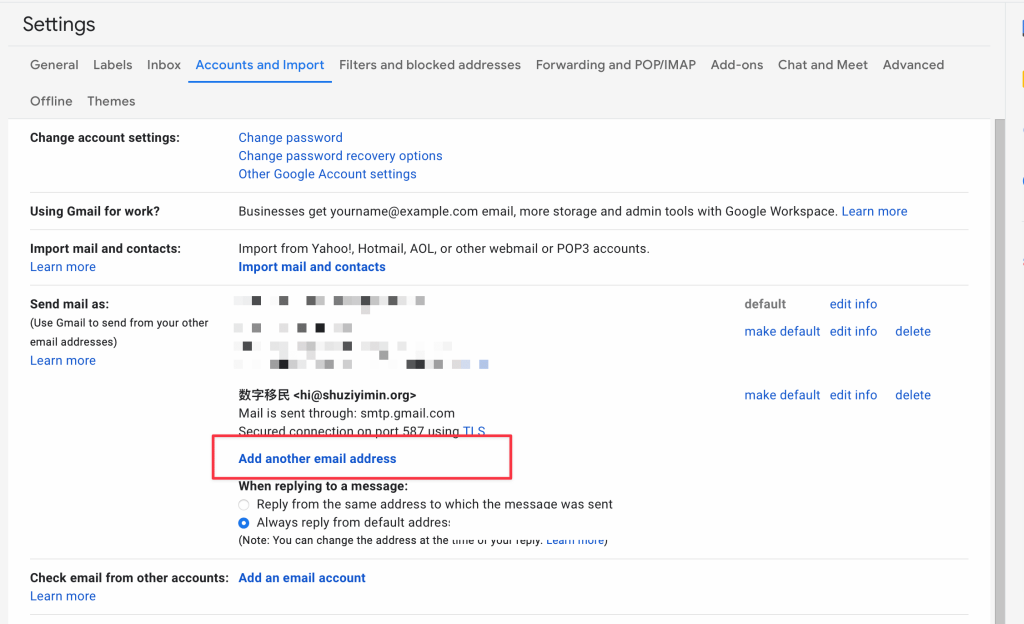
Click Add New Email Address and the following pop-up window will appear.
- The email name will be used as the default name for sending emails in the future and will be displayed to the public. Please fill it in carefully.
- For the domain email address, please configure this prefix domain email in Cloudflare in advance and confirm that it can receive emails
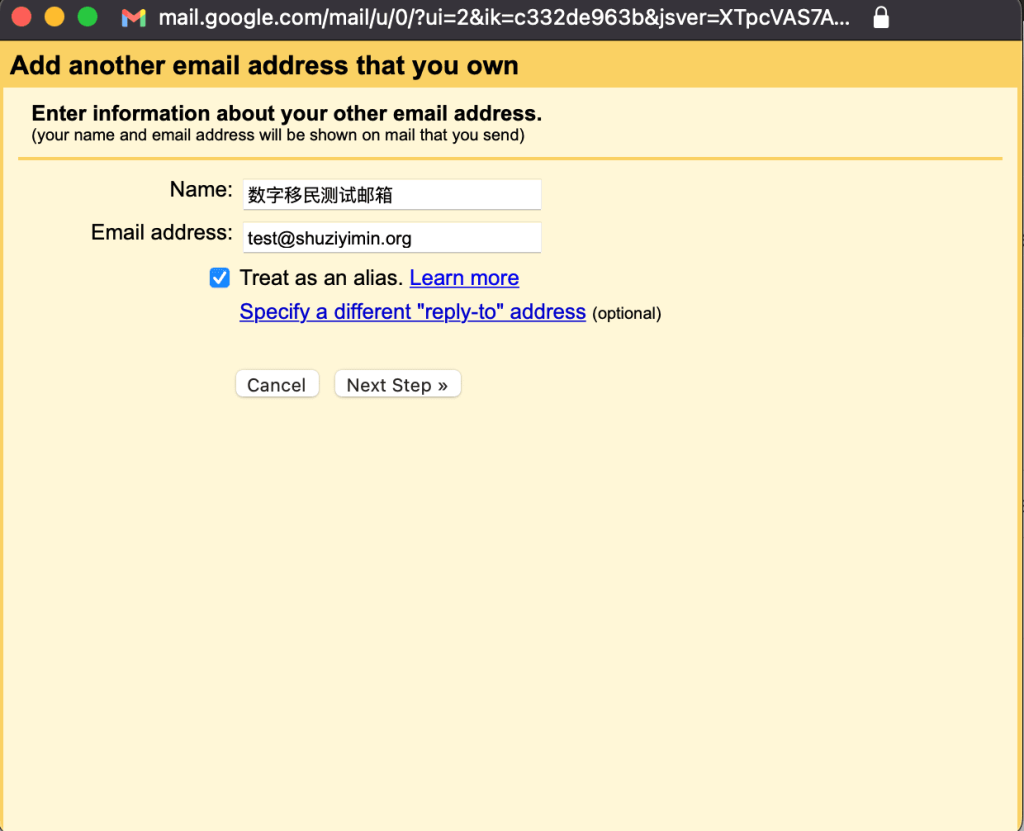
Go to the next step,
- For SMTP, you need to fill in smtp.gmail.com
- The port port can remain the default. If you need to change the protocol, the port needs to be changed accordingly
- Username Fill in the original Gmail username, that is, the information in the email address except @gmail.com
- Password needs to use the exclusive application password obtained in step 4.1
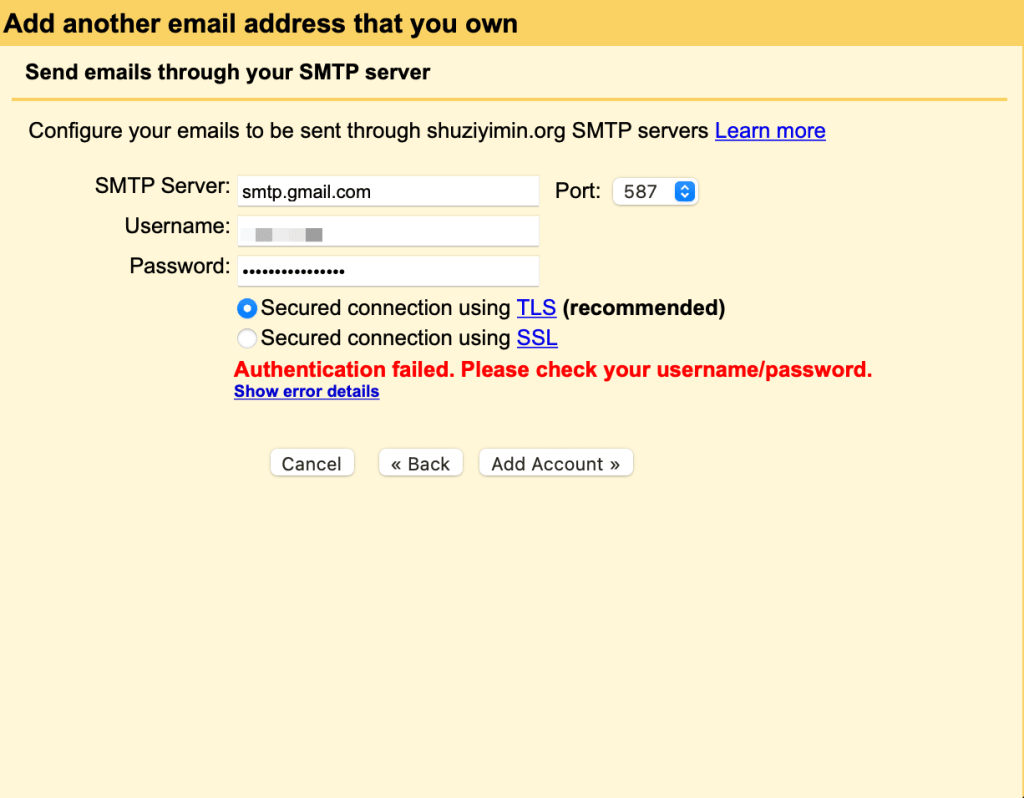
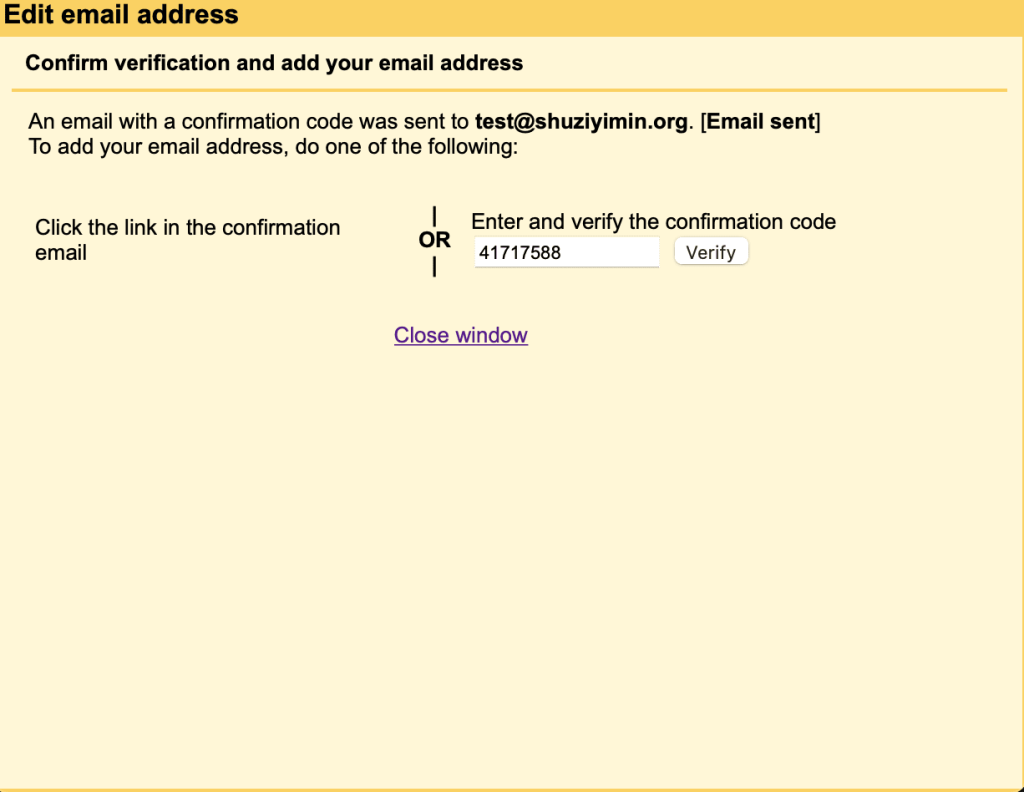
If the above information is filled in successfully, you can enter the next page, and Gmail will receive an email, and you can fill in the corresponding verification code.
After the configuration is complete, you can select the custom email address when sending emails. You can also set this email address as the default sending address in Gmail settings.